

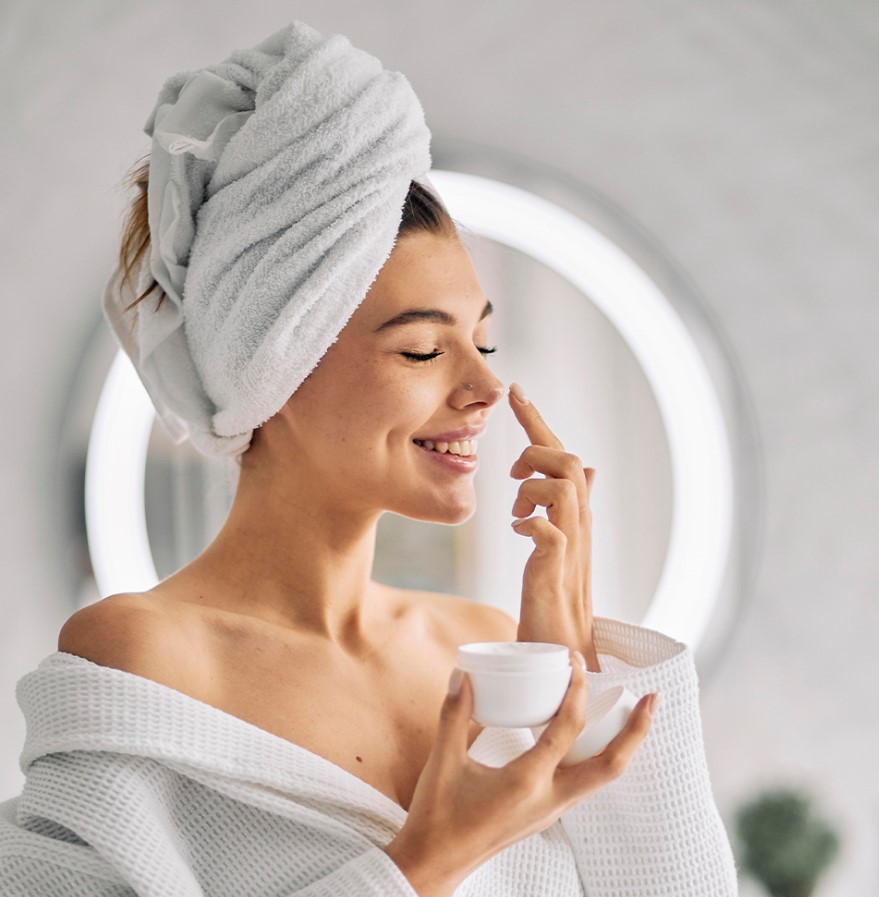
Home Remedies for Winter Skincare
Combat winter pores and skin woes with easy domestic remedies. Stay hydrated by sipping warm herbal teas and indulging in nourishing soups. Opt for an olive oil rubdown before bedtime, letting its moisturizing magic work in a single day. Create honey and yogurt masks for an herbal, hydrating improvement, or attempt an oatmeal exfoliation to slough off dead pores and skin cells lightly. Coconut oil makes for an excellent overnight remedy, while an avocado face mask affords critical fatty acids for deep nourishment. Humidify your home to counteract dry indoor air, and whip up a DIY cocoa butter balm for targeted hydration. Green tea ice cubes and aloe vera gel provide fresh comfort for indignant iciness in the pores and skin. Embrace those easy, herbal answers for a radiant winter glow. Let’s talk about the “10 Ultimate Benefits of Home Remedies for Winter Skincare 2024.
Must Read: 5 Best Korean Moisturizer For Glowing Skin In India 2024
10 Home Remedies for Winter Skincare 2024
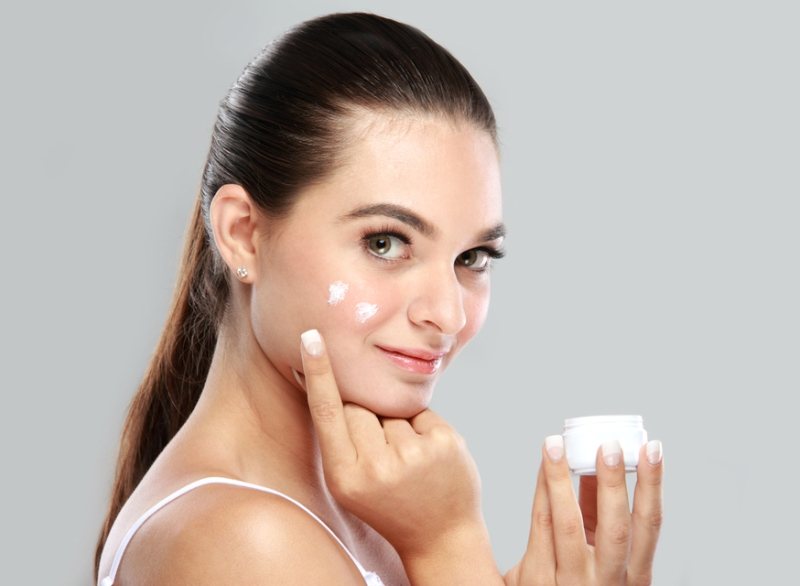
Winter brings with it a picturesque landscape of snow-protected landscapes and cozy evenings by the fireside. However, it also ushers in demanding situations for our pores and skin, with the bloodless air and indoor heating systems leading to dryness, flakiness, and irritation. Instead of acquiring an array of high-priced skincare products, don’t forget to turn to simple and powerful home treatments. Let’s discover 10 nourishing domestic treatments for wintry-weather skincare as a way to leave your skin feeling pampered and radiant. Here are some domestic remedies that help deal with your itchiness:
Winter frequently leaves our skin longing for moisture, and while outside remedies are essential, the name of the game for a hydrated complexion lies in nourishing your body from within. Embrace the Hydration Elixir, an aggregate of water, teas, and soups, to keep your skin radiant and supple even in the coldest months.
Here’s a comprehensive guide to incorporating this holistic approach into your winter skincare routine:


I was searching for some home remedies for winter skincare and I suddenly reached this website. This Blog really good
This website, you can find lots of online slots from leading developers.
Visitors can try out retro-style games as well as feature-packed games with vivid animation and exciting features.
If you’re just starting out or a casino enthusiast, there’s a game that fits your style.
casino slots
All slot machines are instantly accessible 24/7 and designed for desktop computers and tablets alike.
No download is required, so you can get started without hassle.
Platform layout is user-friendly, making it quick to browse the collection.
Register now, and dive into the excitement of spinning reels!